Information for Mini-Garden Installation Volunteers
Cooperation Humboldt volunteers are empowering low income residents to learn about gardening and grow more of their own food by installing free mini gardens at their homes.
Thank you for your interest in volunteering to install mini gardens!!! This is a fairly independent and self-directed volunteer activity, though of course we'll provide guidance and cover all costs. This page outlines the basic process that installers will complete for each mini garden. Please review this information, and when/if you're ready to help, email Tamara.

Information for Mini-Garden Installation Volunteers
Applications are organized based on where folks live. There is a Google Drive with folders organized by town/city, with sub-folders for complete jobs and those in progress - that's how we've been managing the work so far.
This is a fairly independent volunteer job. We can help you get all the supplies you need, but it's up to you to decide how many you'd like to do, update the Google Drive accordingly, make contact with the recipients to plan a time, and complete the installation(s).
Sourcing materials -
- We've been purchasing 'Ultimate Goat' soil at Wes Green Landscape materials. If you have a truck, you can pick it up yourself (each garden requires 1/3-1/2 yard).
- So far we've been able to get most plants donated (or grown them ourselves) but when/if we run out we sometimes purchase starts.
- We can provide 3' square grow bags for the beds themselves, or if you prefer, you can construct wood ones.
- Plants, beds, and other materials can be picked up at Tamara's house in Eureka (email or text to arrange a time).
- Of course, Cooperation Humboldt can cover any out-of-pocket expenses (please keep receipts and text them promptly to Tamara, along with your name and address).
Here's a summary of typical steps for an installation -
- Choose/claim your assignment(s) from the main spreadsheet (enter your name in the Installer column and 'In Progress' in the Status column).
- Navigate to the appropriate Google Drive folder (based on city/town) and move the pdf document(s) for the job(s) you claimed to your 'In Progress' folder.
- Contact resident(s) to schedule day/time. (Let them know that their intended site must be accessible by wheelbarrow and have good sun exposure; request their affirmative confirmation before you show up.)
- Review your pdf application(s) and gather plant starts and other materials (wheelbarrow, shovel, soil/compost, hardware cloth, Sluggo, tomato cages, bamboo stakes, seeds). View a materials list.
- Text resident when you're on the way.
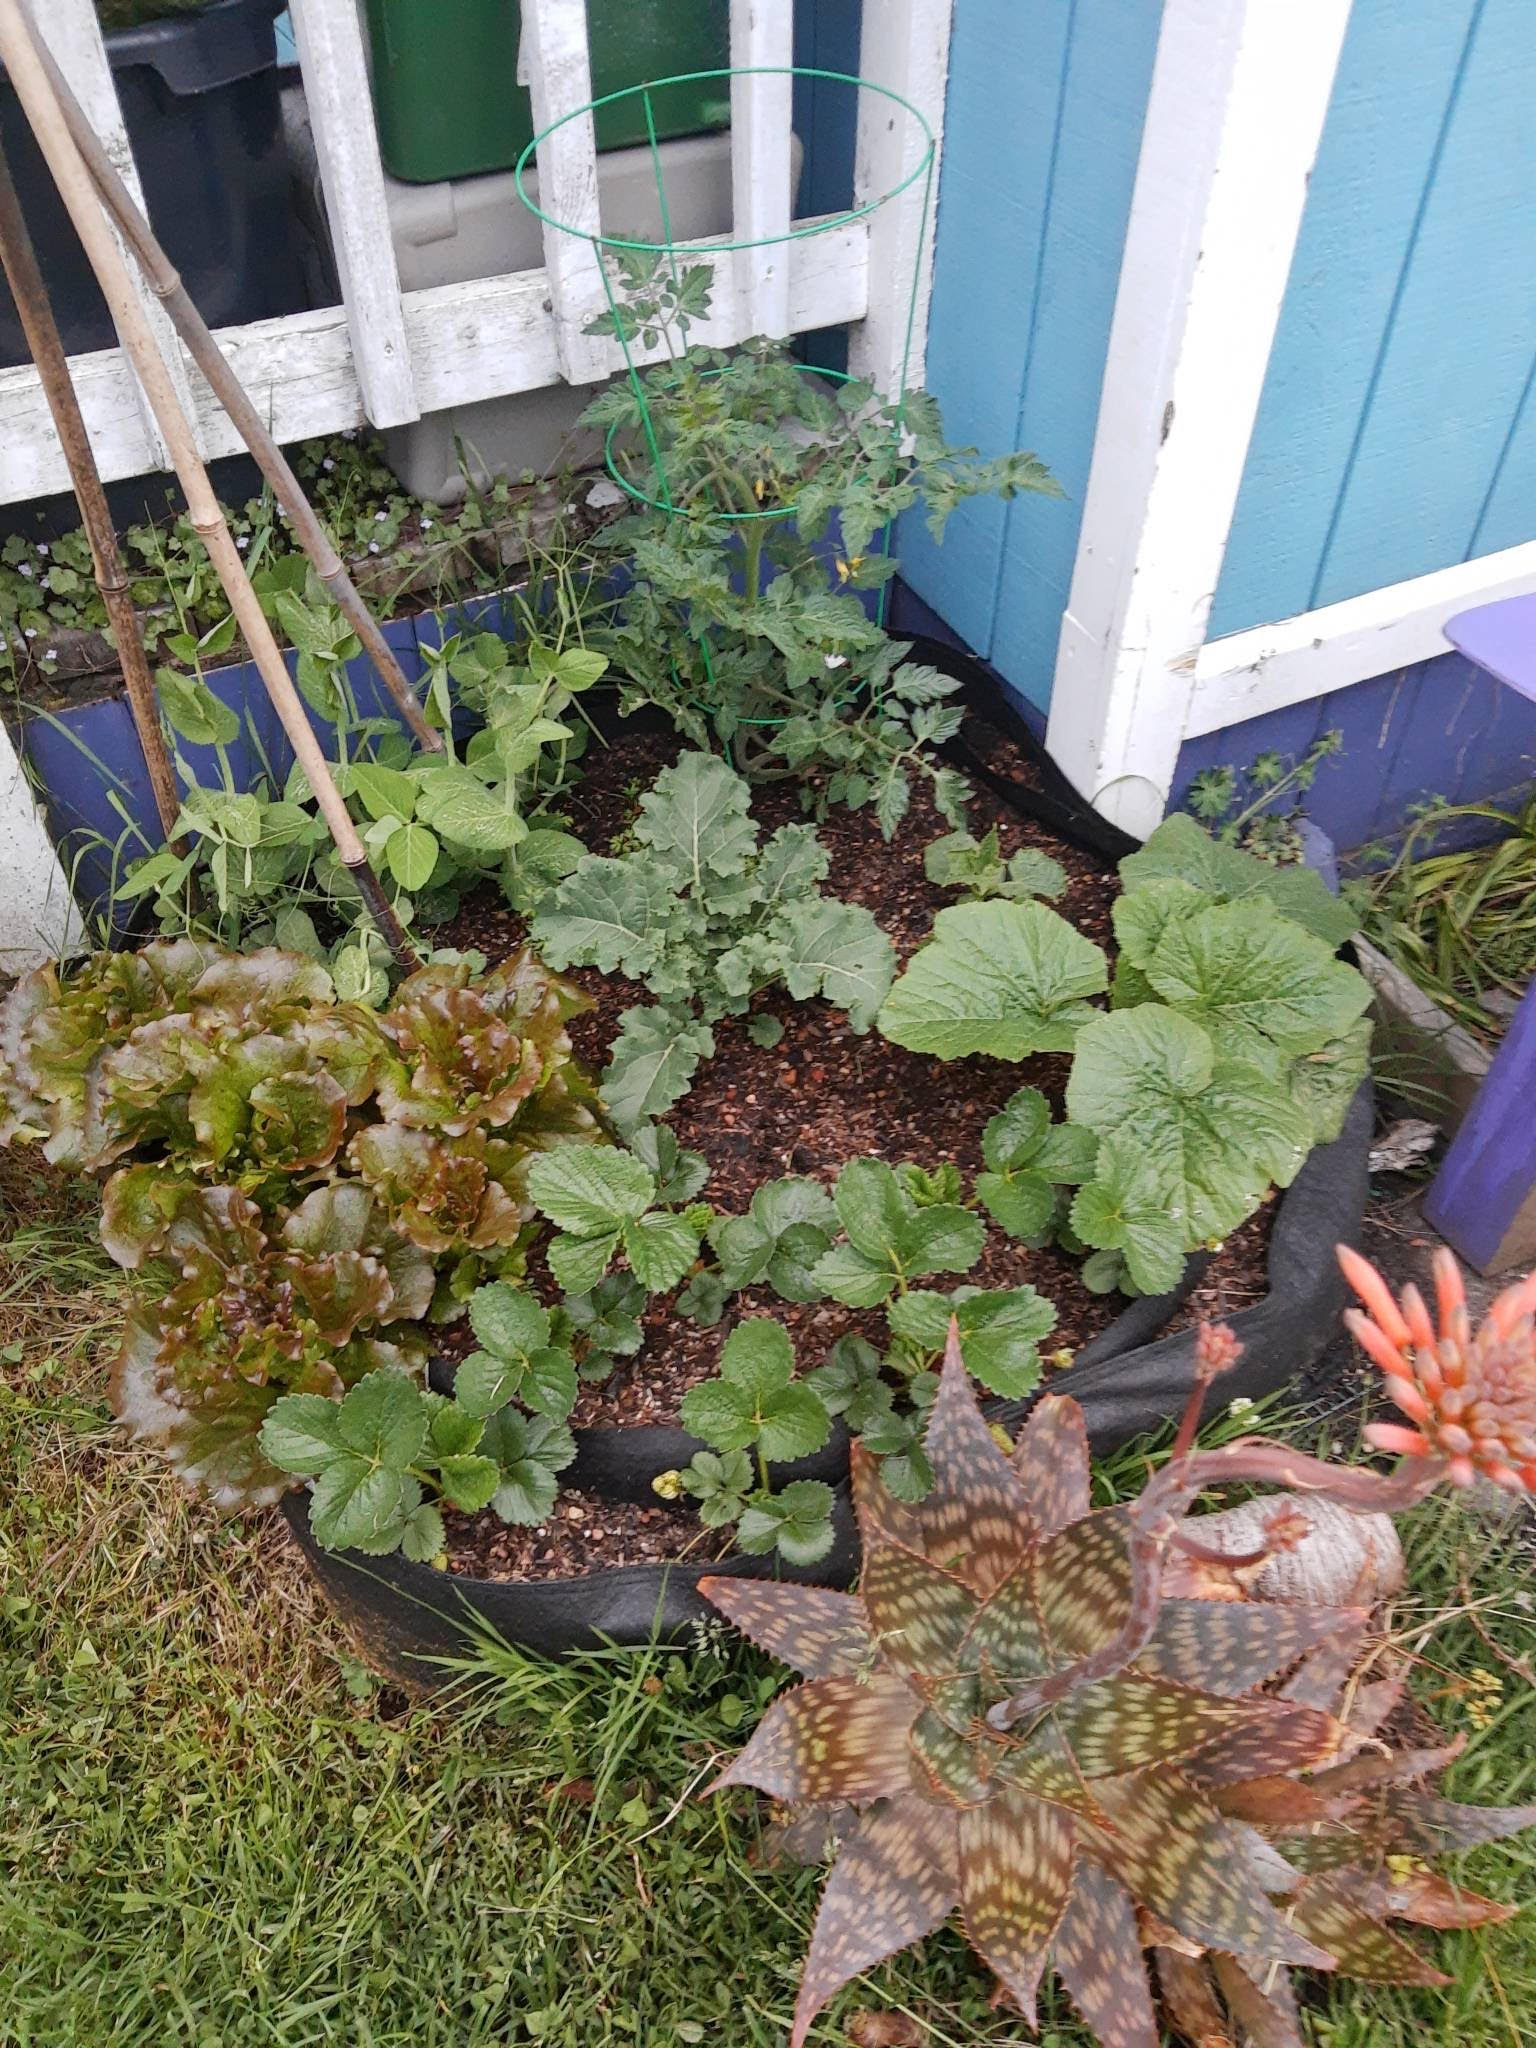
- Mini garden installation
- Lay 3' square of 1/2" hardware cloth on ground as gopher barrier (not necessary if planter is on deck or concrete)
- Position 3' square fabric bed on top of hardware cloth
- Fill bed with soil
- Plant starts
- Plant seeds
- Add any needed supports - cages for tomatoes and/or bamboo tripods for snap peas
- Apply Sluggo and leave some for resident's future use
- Complete planting diagram and instructions and leave for resident.
- Text resident to let them know you are done, and ask them to water the garden.
- Update Google Drive by moving the pdfs for the jobs you finished to the 'Complete' folder.
- Update the main spreadsheet by changing status to 'Complete' and entering date completed.
- Bonus points for taking photos during the process, or once complete, for us to use on social media and our website!